To make up for the short break in my posting schedule, I have something a little extra today: a work-in-progress breakdown of how I produced my latest image. All of the images below can be clicked for a larger view.
(Or, if you want you can just skip ahead to the finished product!)
First, after figuring out most of the details in pencil first, I use my light table to help create the ink drawing. I’ve been using a brush-pen lately, using the fixed-width Micron pens only for the fine details.
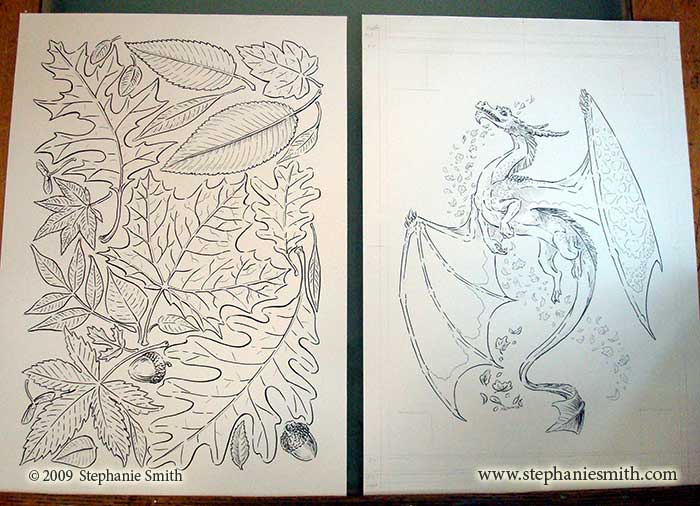
As you can see, the leaves were all drawn out separately, because I think I want to reuse them on a future project.
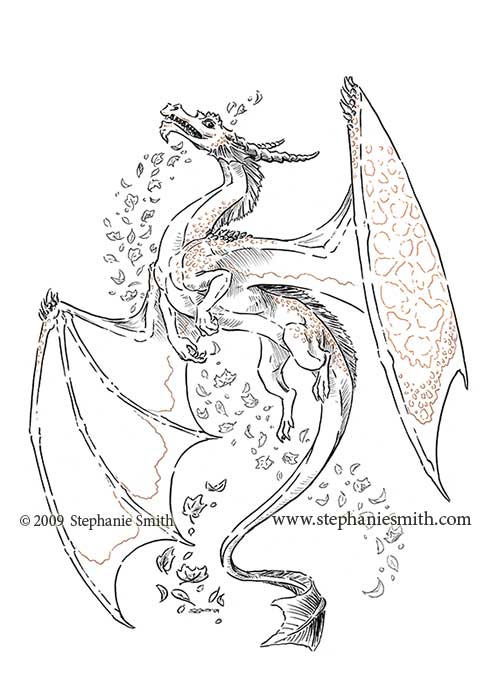
Next the ink drawings are scanned in and cleaned up a bit in Photoshop. I worked on paper that was 17×12 inches because that’s the largest size that will fit on my scanner. My A3 scanner is my current favorite “toy” because it lets me draw larger without having to piece things together after scanning them in sections, saving me SO much time and hassle. Here you can see where I’ve tinted some of the lines where I wanted a more subtle effect.
Next, I blocked in the color areas with flat colors. Doing this first simplifies things a lot later on, when I can use the wand tool to isolate different areas. Usually I put the ink drawing on a separate layer set to “multiply” so the white areas become invisible and color on the layer beneath it. Keeping everything on separate layers make it so much easier to make changes later if I need to.
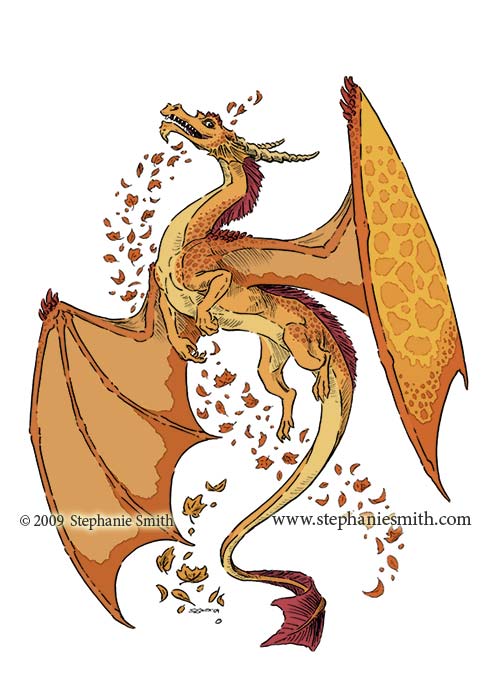
Adding details to the color is next. At this point I put an approximation of the final background color in, because a plain white background makes it very hard to figure out the correct tonal range and color balance.
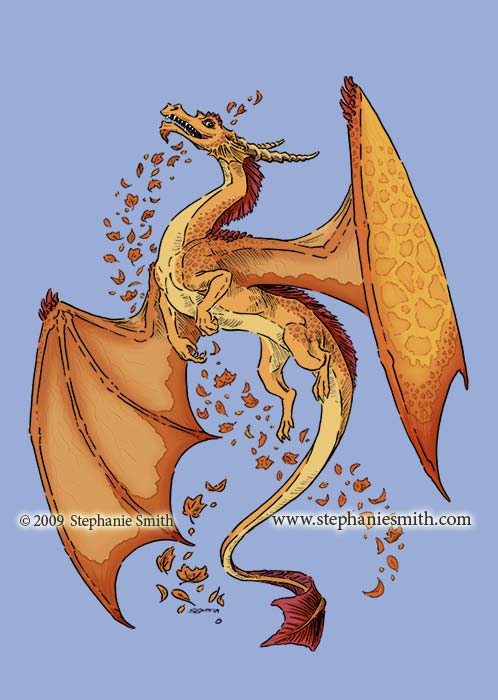
Now I start adding shadows and highlights on separate layers. This is where it really starts taking shape. I always use the shading I already included on the ink drawing as my guide, but because I knew I’d be adding shadows at this step I didn’t do much crosshatching where the more subtle shadows would be.
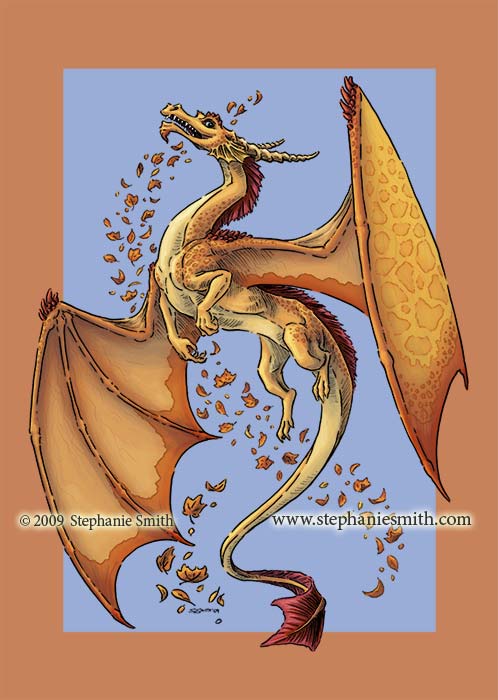
Next it’s time to consider the background. The leaves were all colored separately, so I could arrange them however I liked. Because my file sizes were getting very large, I built the leaf frame in a separate file and then copied it into the main file with the dragon.
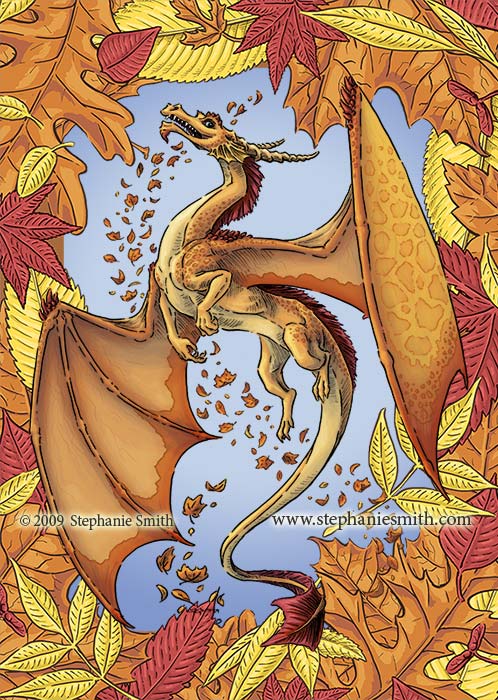
The leaves were overwhelming the dragon, so I faded everything back a little bit to make sure they stay in the background.
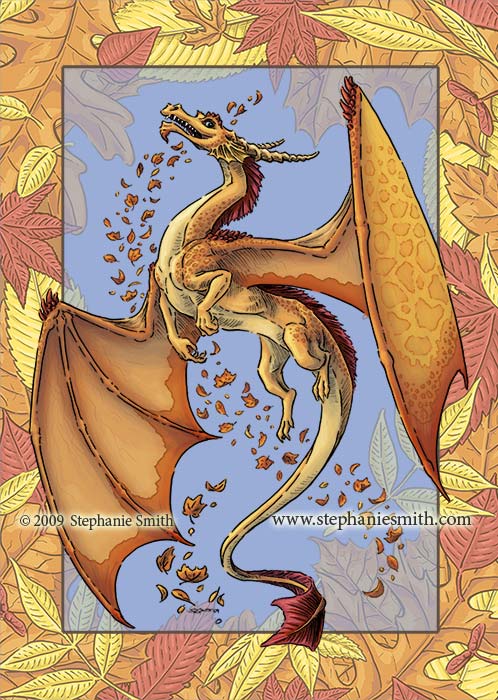
It’s almost done, but I felt there was something missing. I wanted to add a little bit of texture to everything, to give it the feel of real autumn leaves. So I broke out my watercolors and made some nice, crinkly textures, which I then scanned in.
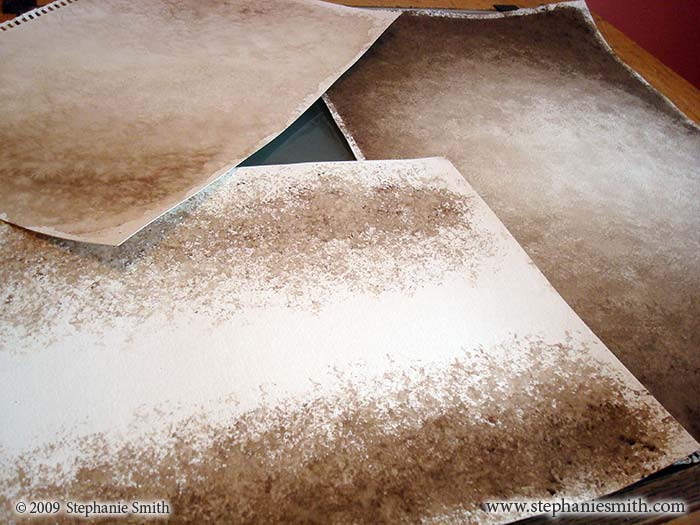
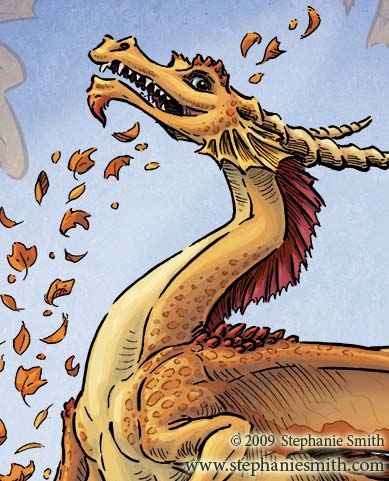
And now, with the textures layered into place, the image is finished!

Smile for your closeup… there’s a good dragon!
 This image is available for sale on prints, cards and T-shirts at my RedBubble site… check it out!
I learned a couple of things working on this project:
- I really like working the textures into my ink drawings, I think it adds a dimension that was missing before.
- I also liked working with really bright, vivid colors instead of soft tints all the time.
- I really need to invest in a new computer, my little Powerbook was gasping as I was creating all of the colors in hi-res and the extra layers from the texture files didn’t help matters. By the end the file was taking almost 20 minutes to save.
For most of my color illustrations, I have downsampled the scan file to a lower resolution to make the colors, and then upsampled the finished color layers back into the full-resolution ink scan. The full-resolution color file tends to be massive (this one would have been well over 1GB if I’d kept everything in a single file) and that approach minimizes how much I have to work with such a huge file. The drawback is that the upsampling softens the colors a bit giving them a watercolor feeling I don’t always want. This time I tried to do everything in the high-resolution file so it’d stay sharp and bright, but it made my computer run painfully slow.
This was a little divergence from my zodiac series, but it was a refreshing one. Now, back to work!
UPDATE: If you just can’t get enough step-by-step excitement, I’ve also made an animated GIF showing this sequence… in motion!
WOW way cool that you wrote all this out, Nice results too!