Time for the final installment on making the cover for Plug Ugly Ball (available on Amazon!) (Get caught up with part 1 and part 2)
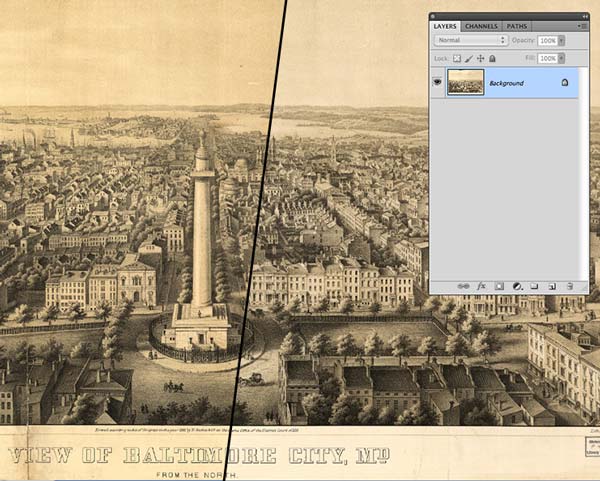
Now it was time to add the one part of the cover I wasn’t making myself: an engraving of the city of Baltimore from 1868 that depicts the neighborhood where most of the story takes place. The Library of Congress provided a beautiful high-resolution scan, but it was unevenly yellowed with age. I color-adjusted the scan overall, because I was going to need it for the back cover too, and did more adjustments for the inset panel so it integrated better with the other artwork.
Now it’s time to start adding all of the textures and details that bring all of the artwork together. We were making a hardcover book with a matte finish on the slipcover (rather than shiny) so I wanted the cover to have a softly antique look. Some of the textures are from photographs, while others were generated from Photoshop filters. I layered them into rest of the artwork using a lot of transparency so they’d be subtle.
 Some textures required something a little more. For this center area, I drew some starburst shapes in Illustrator and copied them into my Photoshop file.
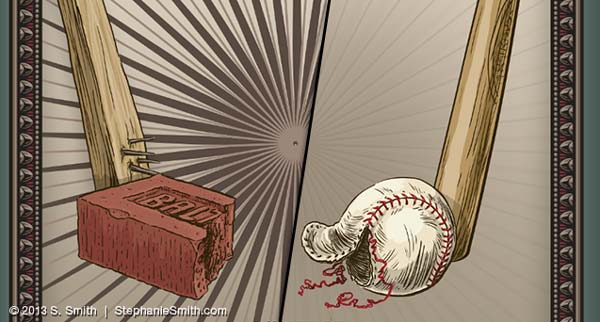 I wanted this texture to be subtle, so I used the blending modes and other effects in Photoshop to fade them, way, way back. After doing similar things with my other textures, I had that gently worn look I was looking for.
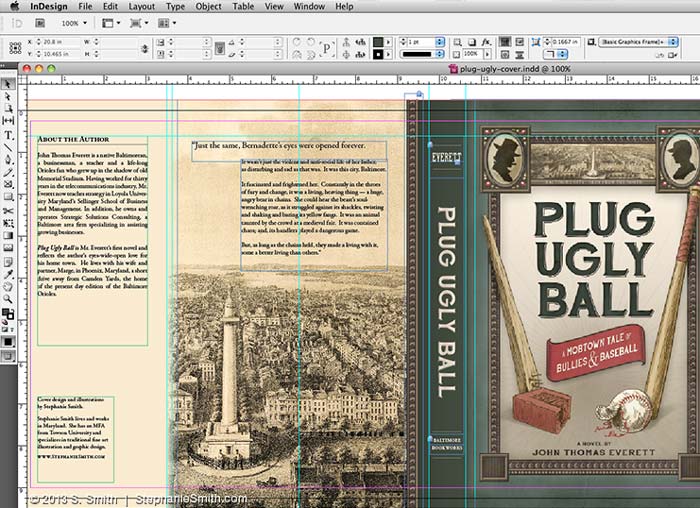
 Now that the front cover artwork was finished, it was time to build the book’s slipcover. For this I used Adobe InDesign, software for designing printed documents. I received the correct sizes and other technical requirements from the publisher and the text from my client for the back cover and the wrap-around flaps. Together with the 1868 engraving, I put everything together with my cover illustration, being careful to leave plenty of room where the folds and edges would be when it was wrapped around the book.
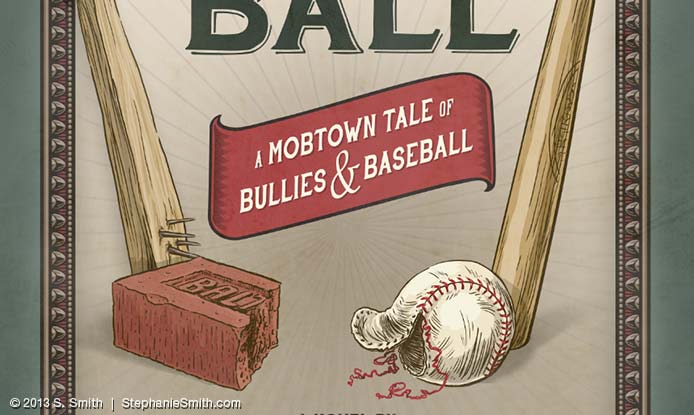
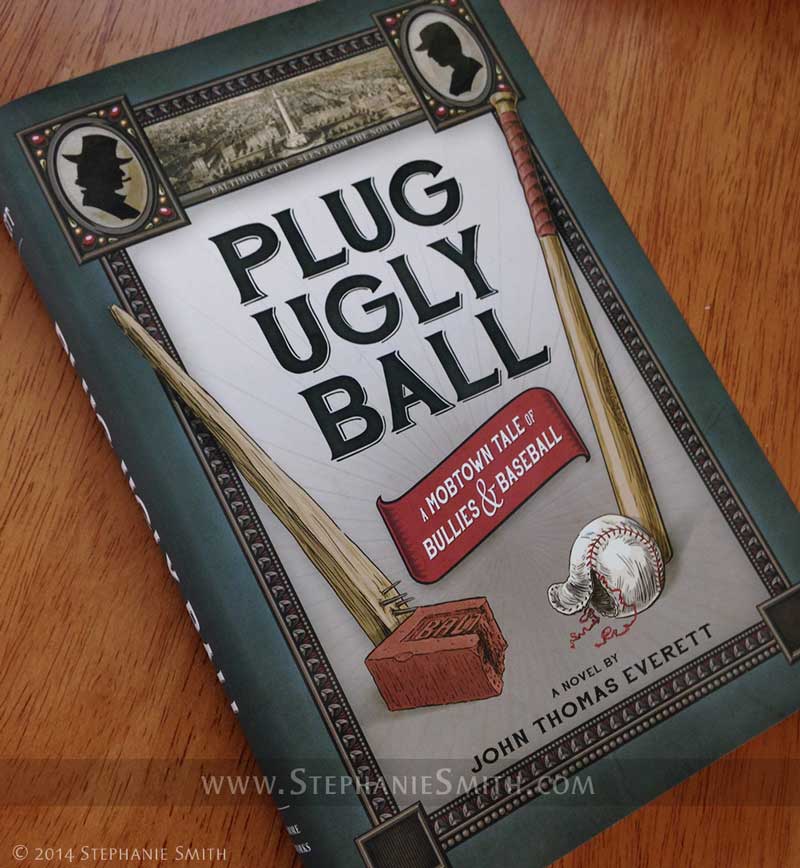
 Then I sent everything off to the printer, and had to wait for it to come back to see how it all turned out. And here it is!
 Thanks for following along! If you find these kind of blog posts interesting, let me know. And if you’re a member of Behance, I have this and my other recent projects posted there too.
Pingback: Making a Book Cover: Plug Ugly Ball part 2 | Scribbles & Scribings